
Watch this video to learn how to make a pop-up frog, inspired by Prince Ribbit. This pop-up only requires 2 cuts and 5 folds and all you need to make it is an A4 piece of paper, scissors and felt tip pens OR coloured pencils.
This video was commissioned by INSPIRE: Culture, Learning & Libraries
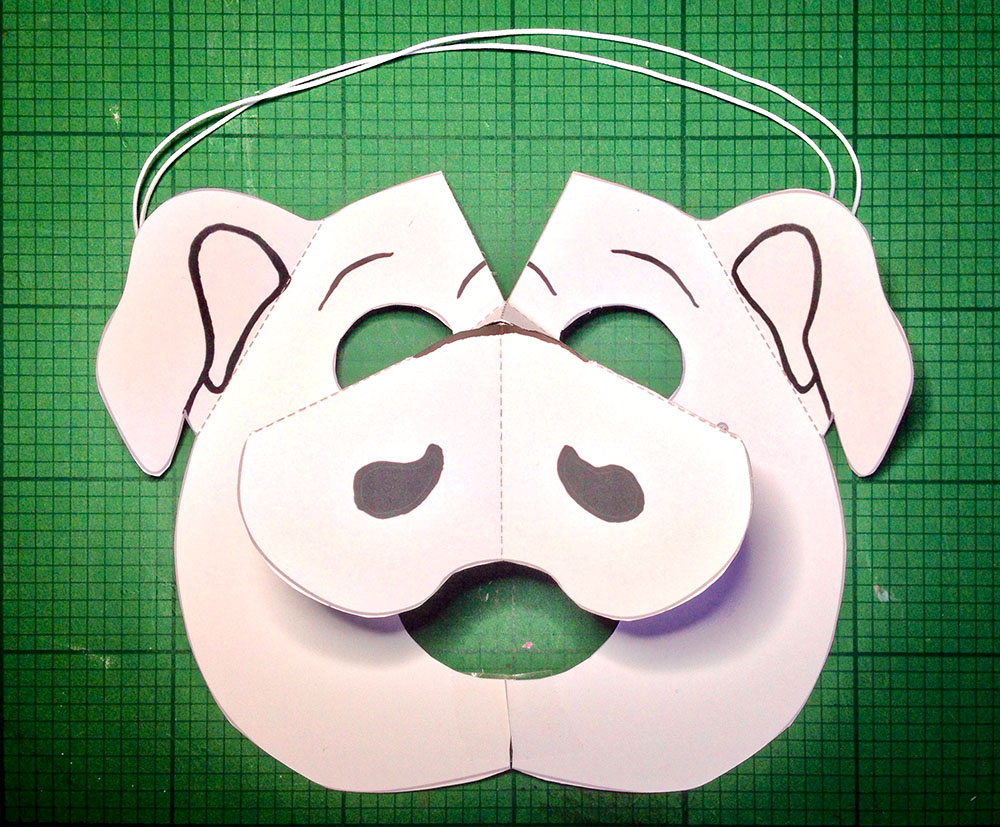
Look perfectly pigtastic in this easy-to-make pop-up mask inspired by Pig from A Spot of Bother.

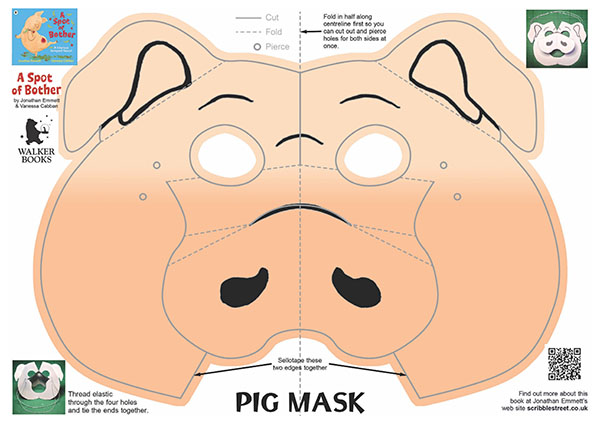
1: First you need to print out the mask.
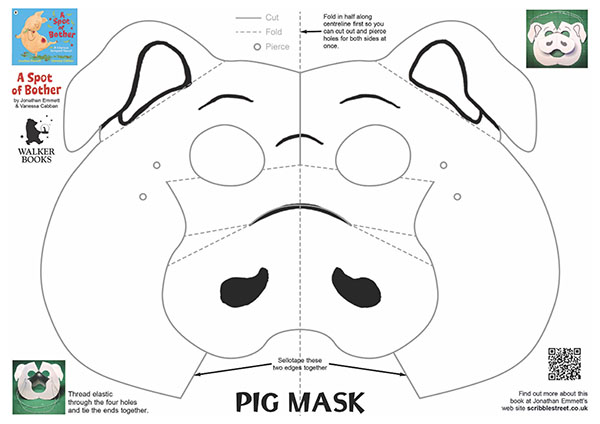
The mask is provided in PDF format, so after downloading it you will be able to save it onto your computer and print it out again if want to. You can choose between a colour mask or a black and white mask which you can colour or decorate yourself. Click on one of the images below to open and download that version.
For best results, print the mask onto thin card – about playing card thickness (between 150-220gsm). If you are using thicker card, you will probably need to set your printer to the “envelope” setting. Make sure that your “page setup” is set to A4 Landscape (wide) printing.
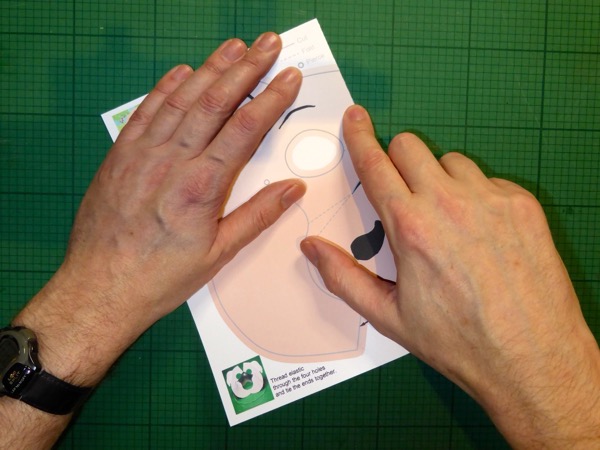
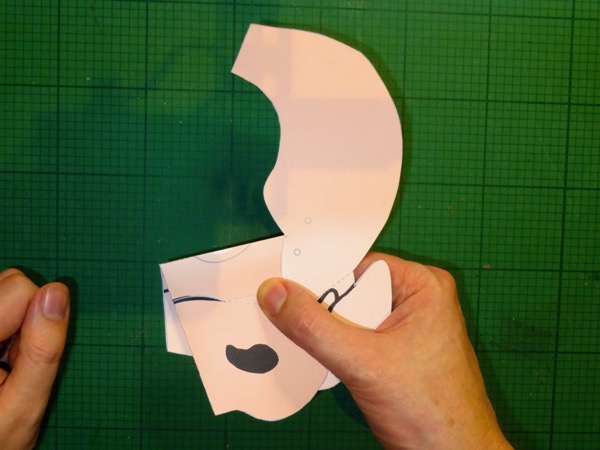
2: The mask is symmetrical, so the quickest way to cut it out is to fold it carefully in half, along the dotted centre line so that you can cut and fold both sides at once.
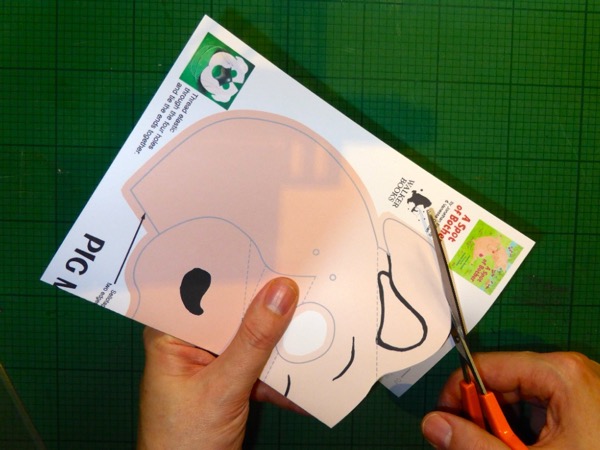
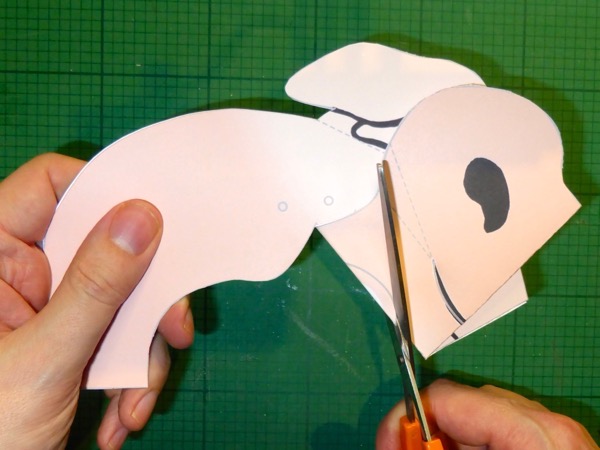
3: Cut out the mask carefully along the solid grey line.
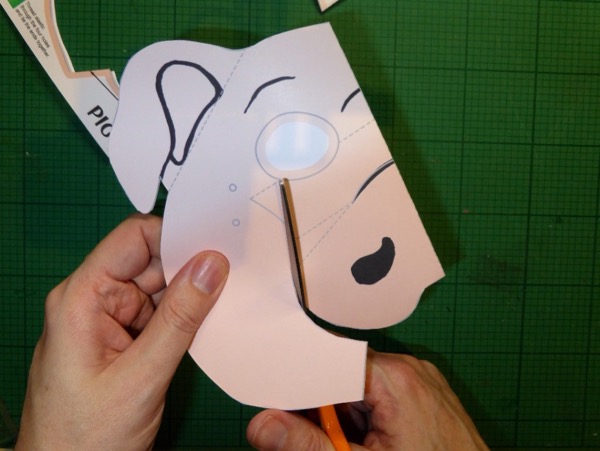
4: Don’t forget to cut around the snout as well!
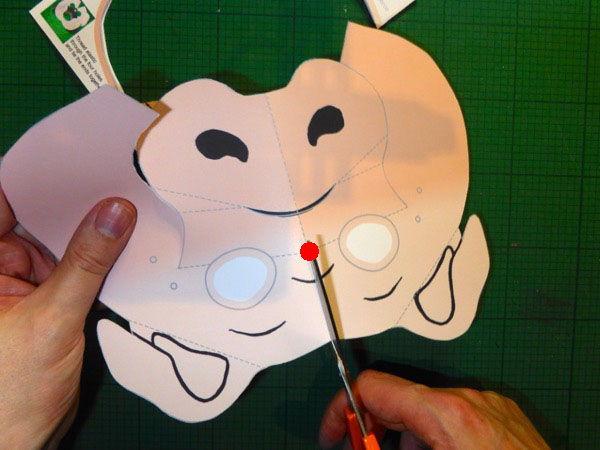
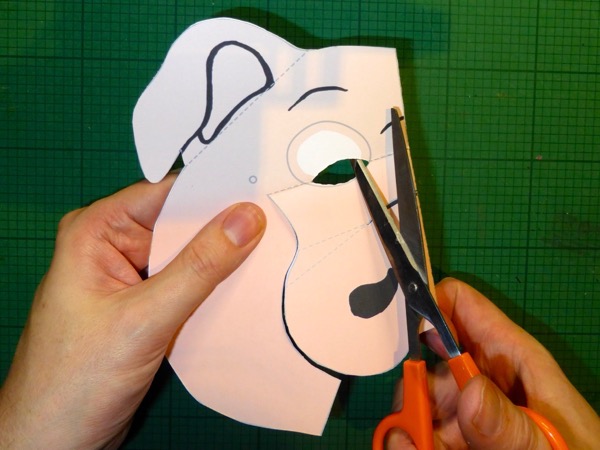
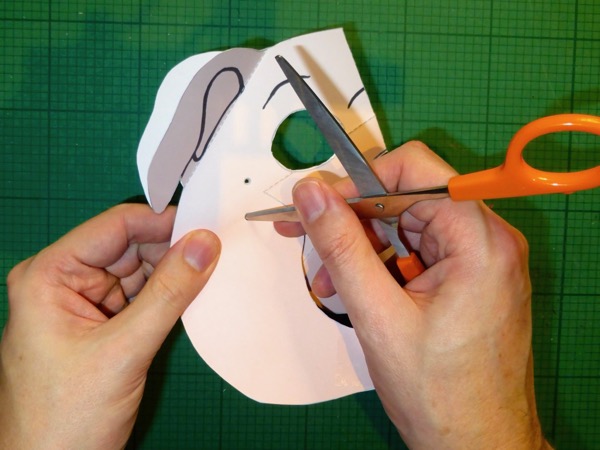
5: Cut along the solid grey line from the top of the mask to between the eyes. Be careful not to cut past the point highlighted with a red dot on the photo above.
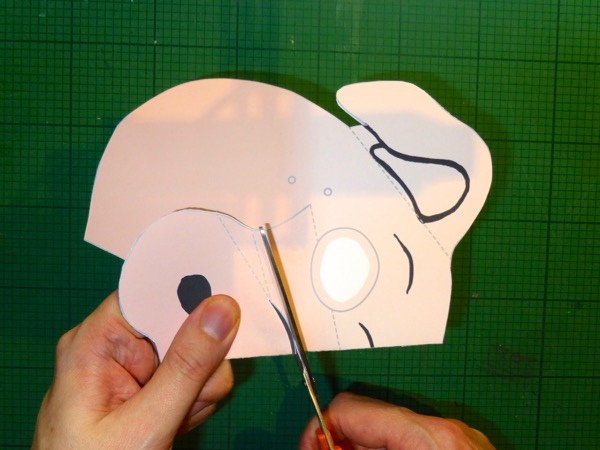
6: Cut in the small curved line above the snout.
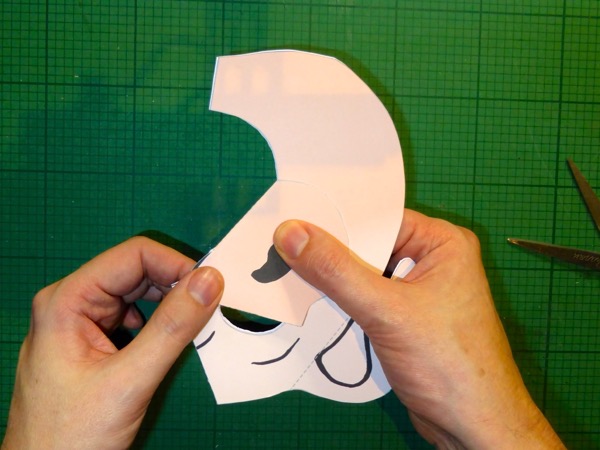
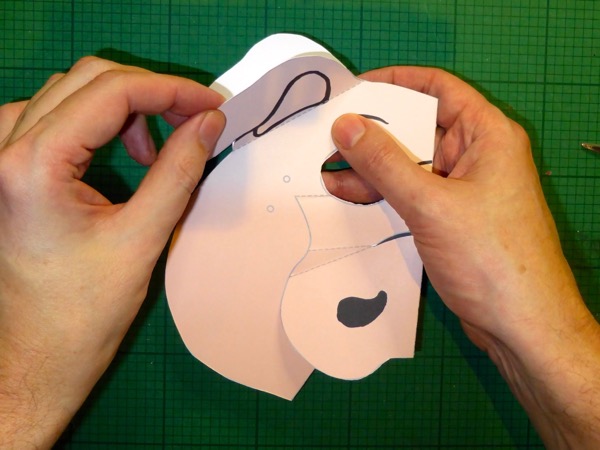
7: With the mask still folded in half. Fold in the crease at the top of the snout. Then bend the fold back to put the crease in the other way too.
8: With the snout still folded up, cut along the small curved line that forms the bottom of the eyehole. You should be cutting through 4 layers of card at once when doing this.
9: Fold the snout down again. You should now have a hole that you can put your scissors through to cut out the rest of the eye.
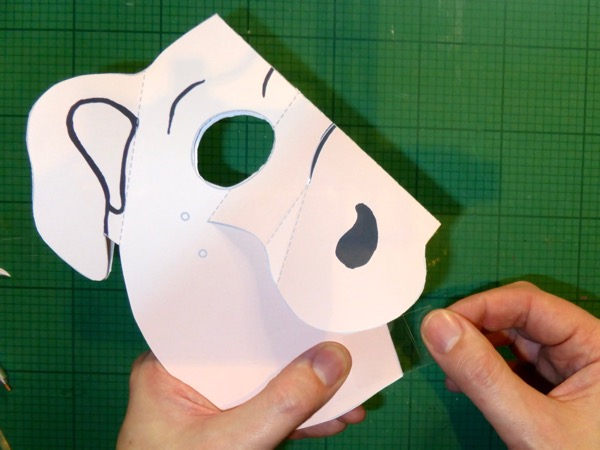
10: Fold in the other 2 creases at the edge of the snout. As you put in each crease, bend the fold back to put the crease in the other way too.
11: Fold in the ear creases on both sides.
12: Put some sellotape on the bottom edge of the mask, fold the tape over to stick it to the other side.
13: Use the tip of your scissors (or another sharp point) to pierce the two holes on the side of the mask. Keep the mask folded to pierce both sides at once.
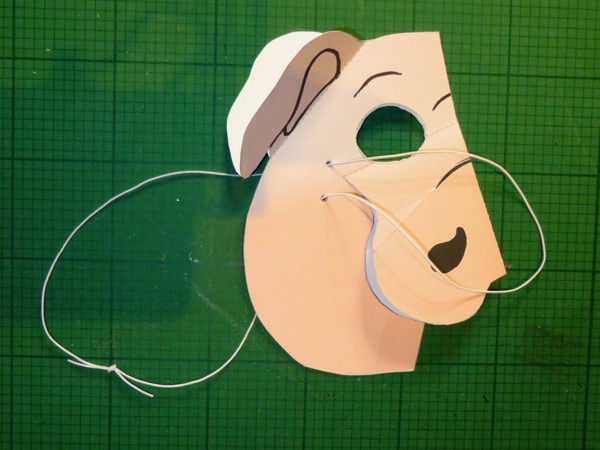
14: Thread 75 cm of elastic cord through both holes, and tie the ends together. Keep the mask folded to thread both sides at once.
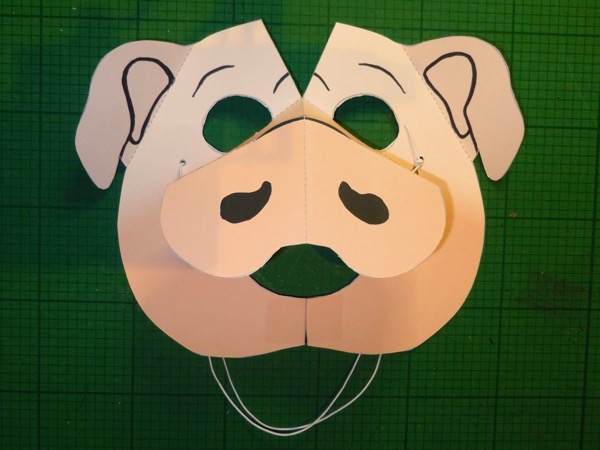
15: Now open up the mask and pull the elastic through so that you have two big loops at the back. Your mask is finished and ready to wear!
Dispatch & Delivery
Books will be sent by Evri and should take 2–4 working days to arrive after dispatch. I’m generally able to dispatch orders within two working days of receiving them, but if I’m away from home, books will not be signed and dispatched until my return. If you place an order while I’m away for more than a week, you should receive an email telling you when the order will be dispatched and giving you the option to cancel and receive a full refund.